22 Best Practical Bootstrap File Uploads 2026
After thorough research, we collected the best Bootstrap file uploads you can quickly integrate into your web applications.
We reviewed over 50+ of them, but these are the ones that stand out.
Finding different sources for your needs can take longer than you think.
No need for that anymore.
Setting up file upload lets your audiences navigate and upload or download a document(s).
And you DON’T NEED to make it happen from scratch.
It enhances the functionality of your website and improves its purpose for visitors who want to connect with you more effectively.
I will show you 22 Bootstrap file uploads to help you get the most out of your website.
I would like to let you know that we have hundreds of Bootstrap 5 templates designed for any niche and use case.
Best Free Bootstrap File Uploads
Custom File Upload
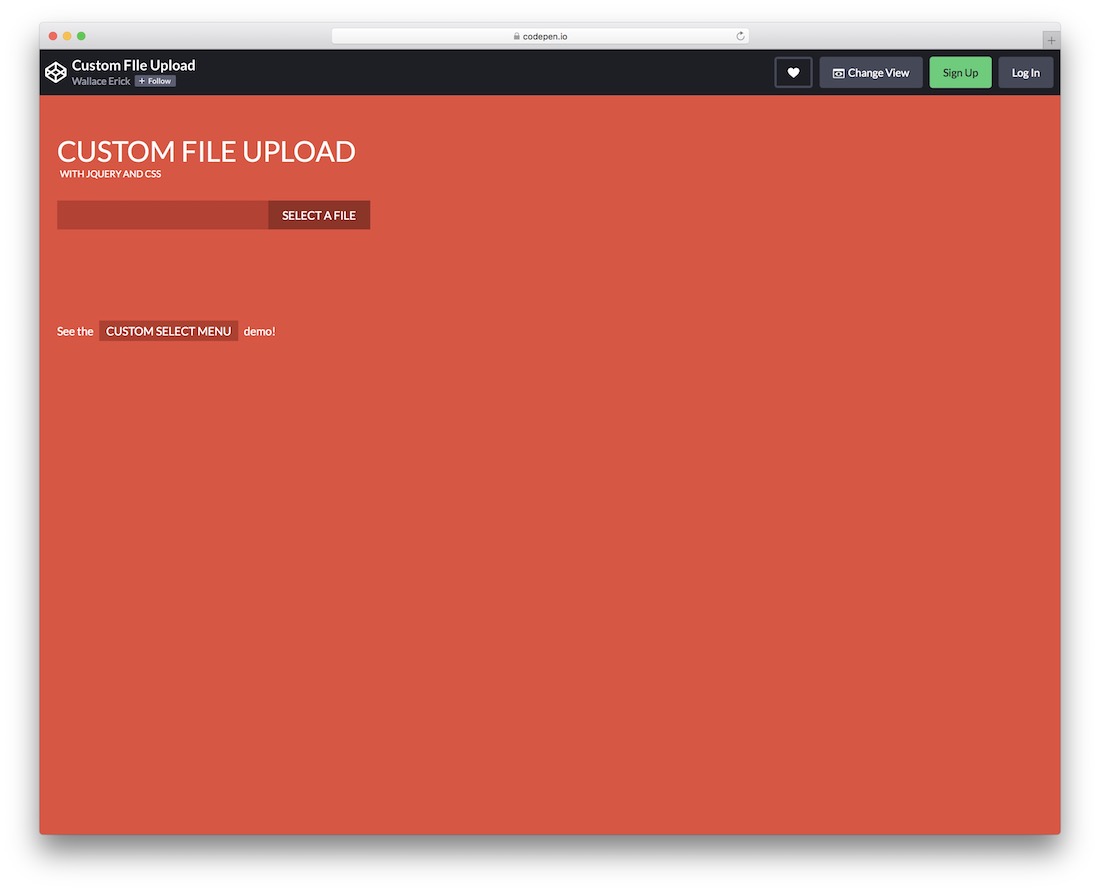
Offer your users to select a custom file directly from the device and upload it to your website. This convenient solution will integrate seamlessly with your web application.
You may need to perform just a few tweaks and improvements, and that’s it.
For this, you can do it all over on CodePen, fine-tuning it according to your needs and preferences. It features only modern technologies, promising excellent performance on different screen sizes and devices.
File Upload Input
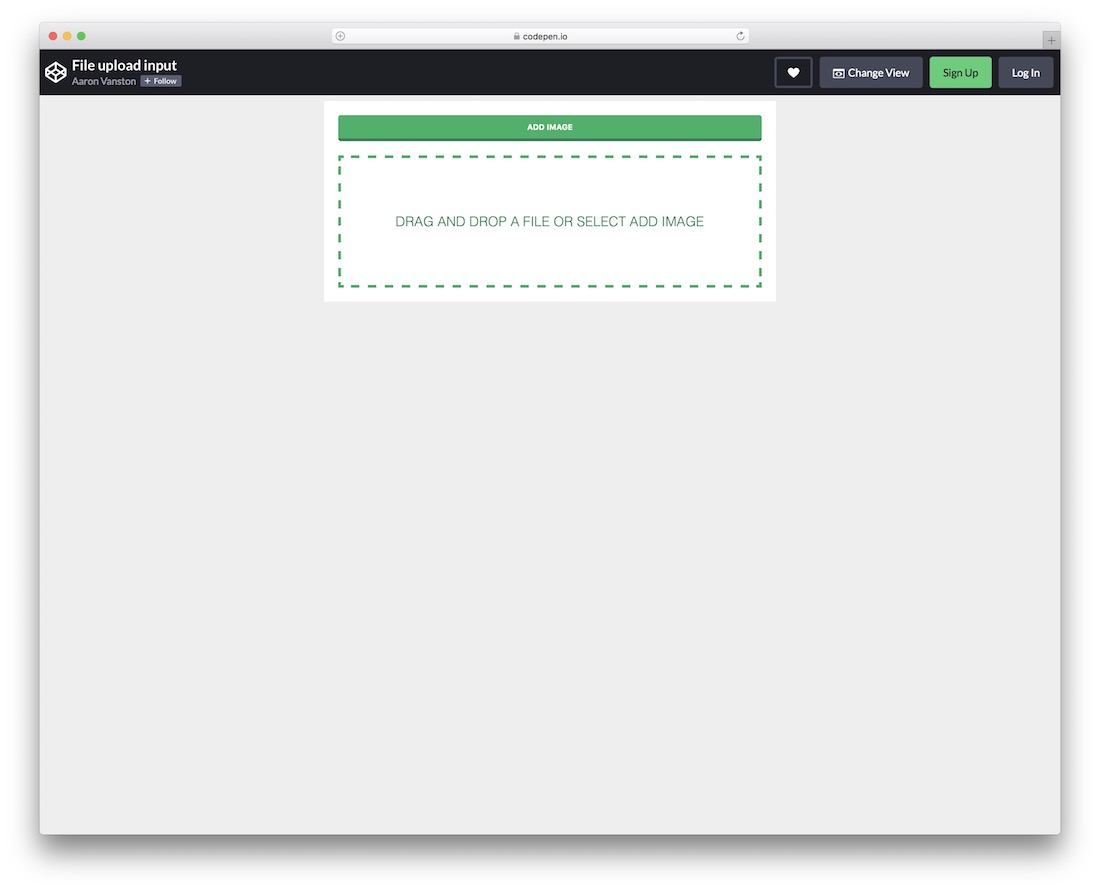
If the above Bootstrap file upload is too basic for you, I am sure this modern alternative will do the trick. When it comes to this particular solution, a user can either click the button to select the item/file or drag and drop it into the specific area.
The latter also features a hover effect that causes it to turn green.
Of course, if you would like to BRAND the snippet with your custom color schemes, by all means, make it happen. It will not take long, so take charge, work on edits, and integrate it into your application.
Custom Choose File
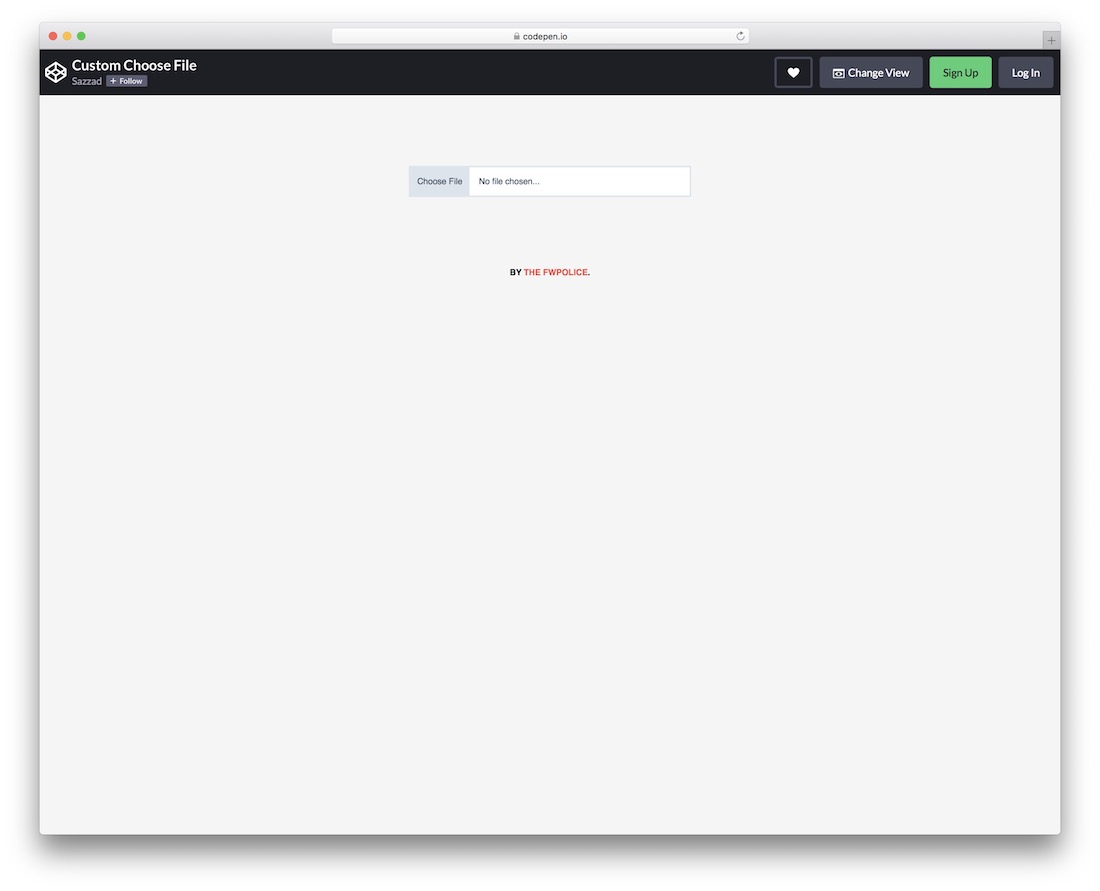
A simple and minimalist custom file upload based on Bootstrap, HTML, CSS, and JS.
The user-friendly code structure ensures that everyone gets the most out of it, whether you use it as is or further improve it.
After you access CodePen, you can configure the default settings INSIDE your favorite web browser. You can also experiment with colors and fonts, ensuring the outcome aligns precisely with your style.
DailyUI 31
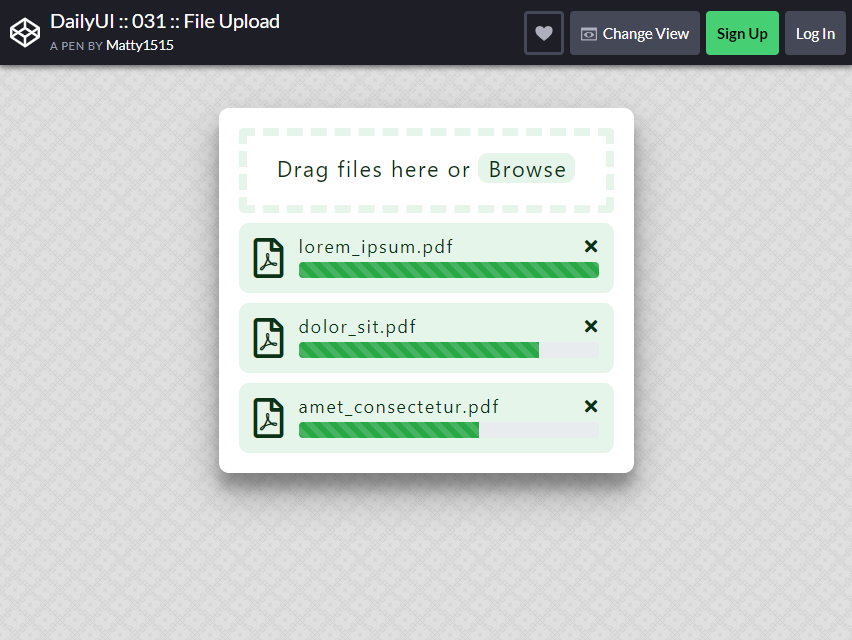
PDF file upload is essential for a website asking for a PDF document. You can drag files or browse to upload the file you will send.
This data allows it to upload up to two or more PDF files simultaneously. The image is clear and positioned in the center of the page for a more comfortable viewing experience.
You can navigate it without difficulty.
There are no further actions needed. Just A FEW CLICKS, you can now upload the file.
Getform.io HTML Form
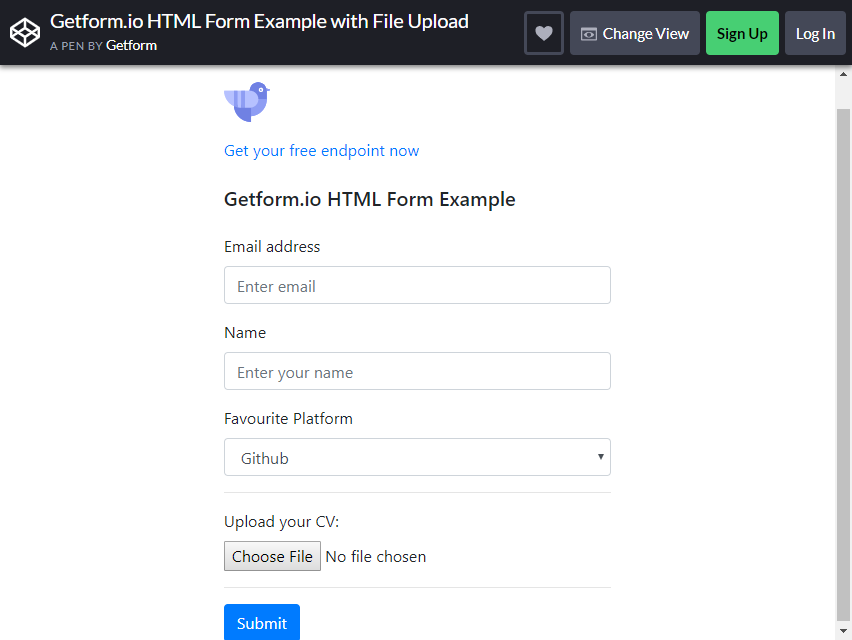
Do you wonder where to get a file upload to request someone’s email address and name data? This form is ideal for collecting applicants’ details or for those who wish to apply for a job.
In this Bootstrap file upload format, you can also ask for your favorite platform, and ask the applicant to choose a file to upload his CV.
It is concise and straightforward. The name input is more engaging because it is not separated into First Name, Middle Name, and Last Name, making it easier to read.
To fill out the form, a person only needs to write his full name without clicking to different sections. It provides ALL THE INFORMATION asked for by the applicant.
Besides, you don’t have to ask for someone’s total data when you are just going to get his CV file – where all his essential information is written there.
Custom Native File Input
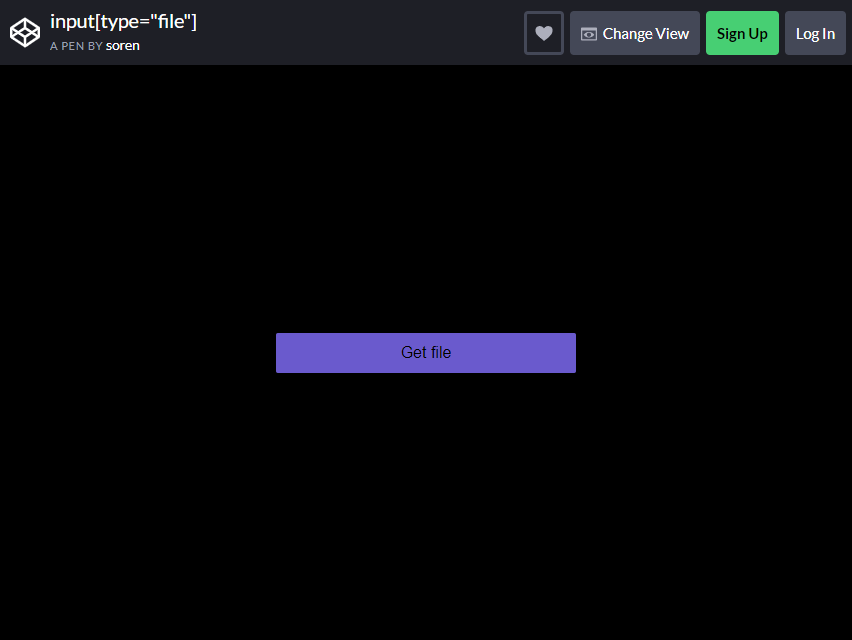
This file input is pretty simple, but it always works right. Even though it is a one-click button, its purpose remains the same. The size is large enough to be visible to the audience.
Small file uploads are a common problem on other pages. I have seen many ‘Get File’ buttons that are small, hard to click, and dull in color.
The color is ESSENTIAL for better viewing. Before navigating the cursor, you will see that the color is cornflower blue, but it turns into medium aquamarine once you hover it at the middle.
What is the purpose of these colors? It indicates that you are in the correct cursor, and once you click it, you will receive what you requested.
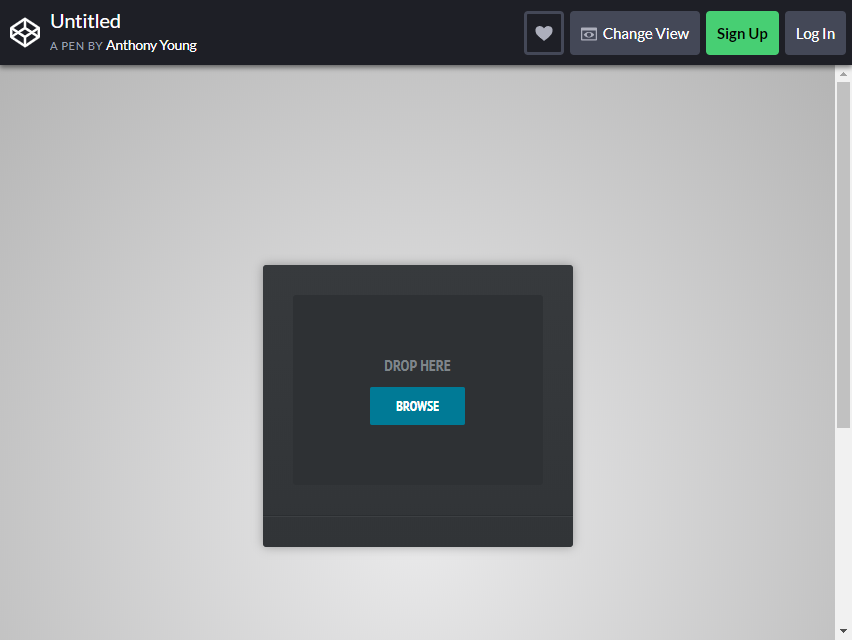
File Upload Box
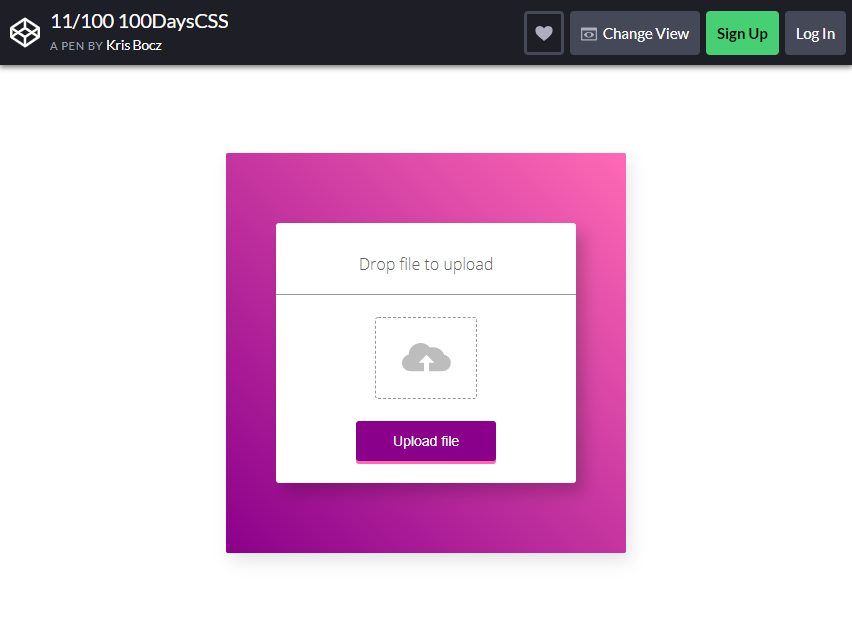
The box is chic and pretty. Remember that when an audience visits your website, they’re LOOKING for a visually relaxing page.
With the right color contrast file upload format, it can enhance your site’s beauty and attract a larger audience.
The File Upload Box has two options: drop a file to upload or upload a file directly from your storage, whichever is more convenient. It is big enough and comfortable to click on.
In the middle of the box, you can see a cloud and an arrow upward, that’s where you will drag a file. Putting this kind of picture makes it easier for your visitors.
You can use this format if your blog or page focuses on girly/feminine content. But this is for general application without a specific niche.
Bootstrap Modal with File Upload and Preview

Do you set up your website to let people connect? As you launch the Bootstrap Modal, you can see a preview of the status box. This is the perfect Bootstrap file upload for connection.
Let your audience enjoy writing their status to foster more connections with people. One of the better things about this format is the emoji picker. You can also see the button to upload a picture at the side of the status bar.
The status bar style is similar to what you use in social media accounts.
This will add a more significant impact on your website. Additionally, the way it was created is straightforward and easy to understand. Its white color is perfect for any theme you’ve chosen for your site.
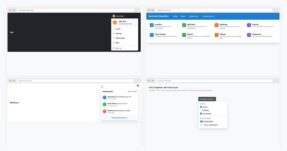
Image Upload Button
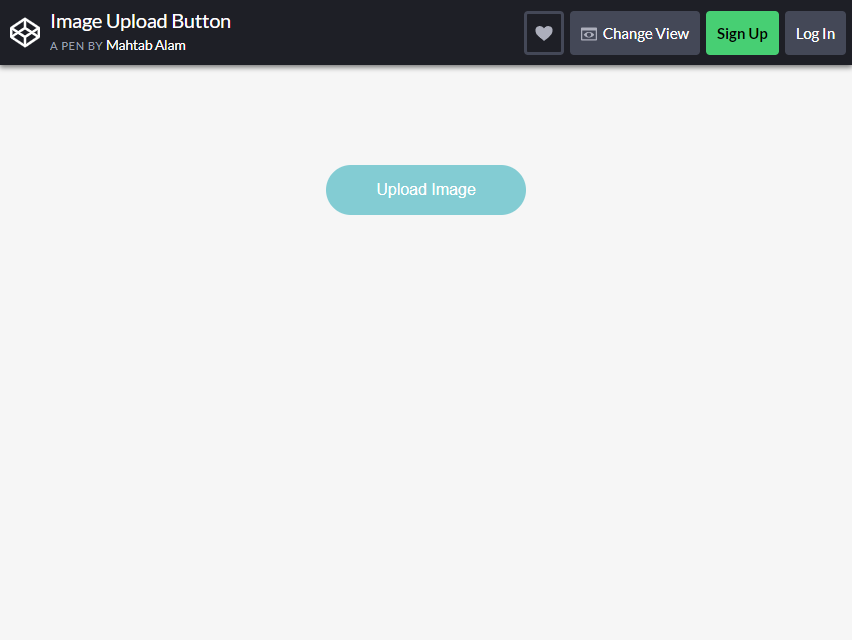
This is one of the best choices if you want a natural image uploader to your website. Click the circle button to use it, and the files explorer will appear.
You upload an image from your local storage by clicking the image or typing the file name. If you have chosen the right one, it will only take 1-3 seconds to preview your photo.
If you have the wrong item, you can easily remove the image by clicking the X button in the upper-right corner.
The size is just right and will NOT CONSUME a lot of space. Its performance is still the same, and you have nothing to worry about. It also prevents your blog from lagging.
File Upload Form for Google Drive
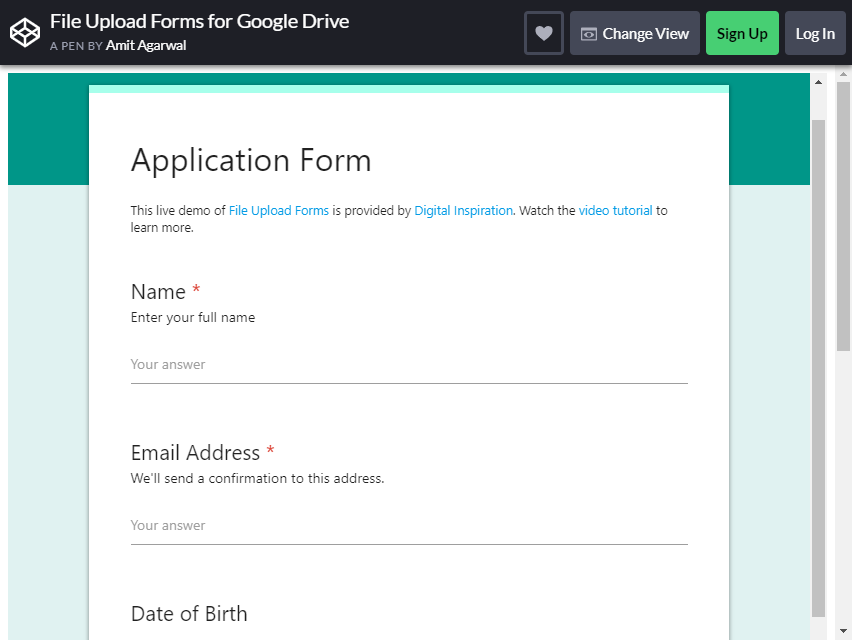
If you prefer to ask your audience to fill out a form to be redirected to Google, this is one of the best ways to include it in your blog. It has simple navigation and easy-to-read captions.
Like the Getform.io form, you don’t have to separate your full name into three sections, but you can just type your name straight.
The name, email address, degree, and resume are essential sections in the form that you should not leave empty.
A calendar will appear, allowing you to fill out the birth date section and select the correct month, date, and year. Browse picture from your storage to upload it.
The best section is the E-signature box. Users can sign in there from their phones. Do not forget to check the Agree section and click the Recaptcha to proceed.
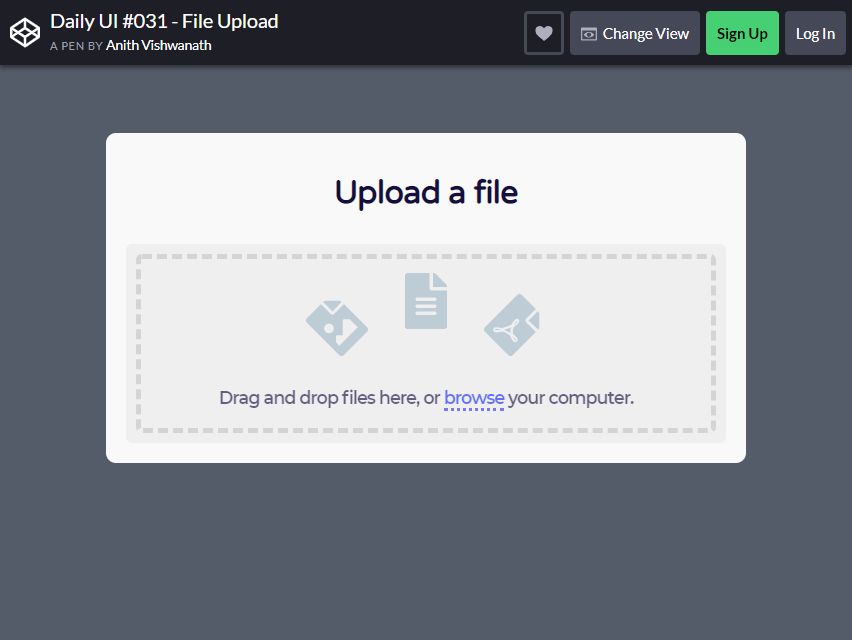
Daily UI #031 – File Upload
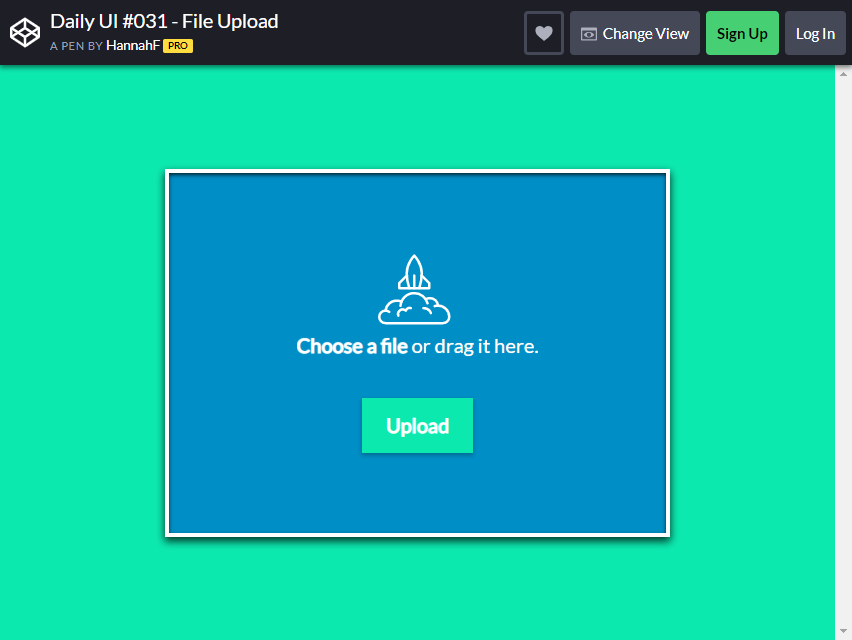
The upload file box is large enough to navigate. You can choose a file or drag it inside the box.
If you hover the mouse cursor to the Upload button, the button will have a shadow on sides.
That indicates that the file is READY to upload. The blue color of the box makes it more appealing.
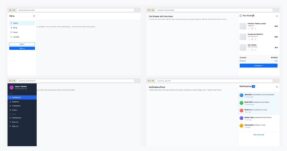
File Upload Form
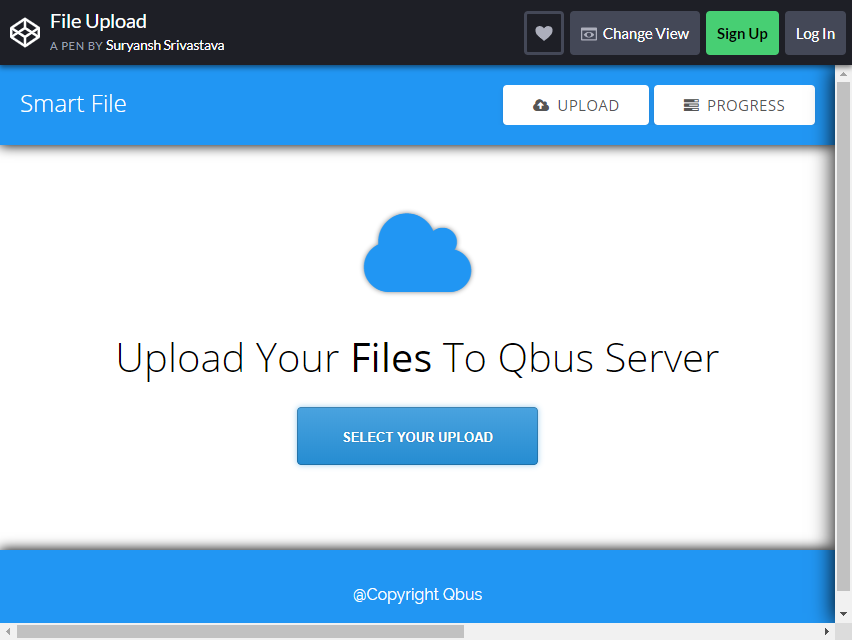
This form is perfect for uploading Smart Files. After uploading the file, you can see the overall progress status of what you uploaded. You can see the Upload and Progress button in the upper right section.
The progress status bar shows the file name, size, and link. You can copy the link to your data.
One GREAT thing about this Bootstrap file uploads forms is that the box is big enough to navigate it entirely. It is clearly visible on your page, and the text is large enough for viewers to read.
Multiply File Uploader
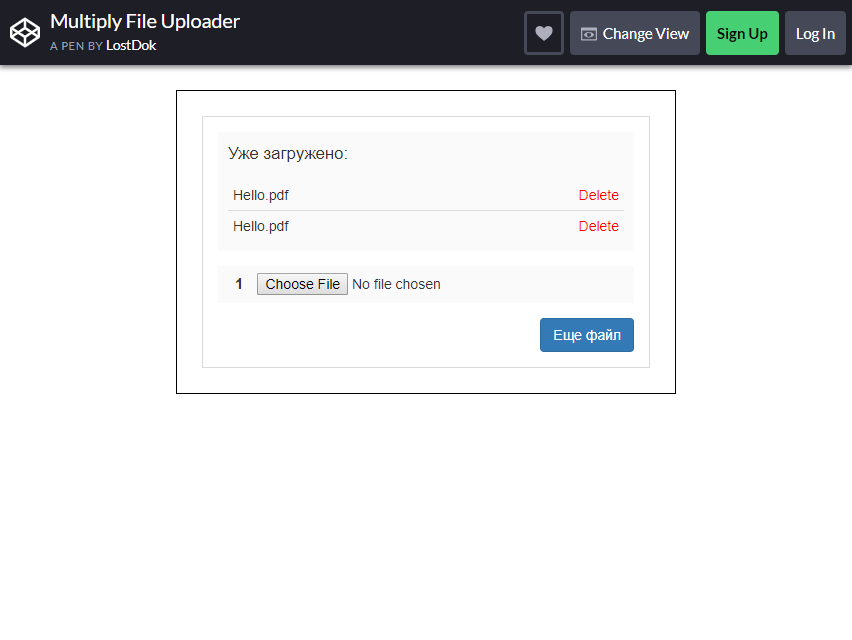
The file uploader format is straightforward, allowing you to upload multiple files simultaneously. If you uploaded the wrong file, click the delete button next to the file name.
This file upload can be used for several blogs. Setting this up will NOT SLOW DOWN the function of your website.
File Upload Styled
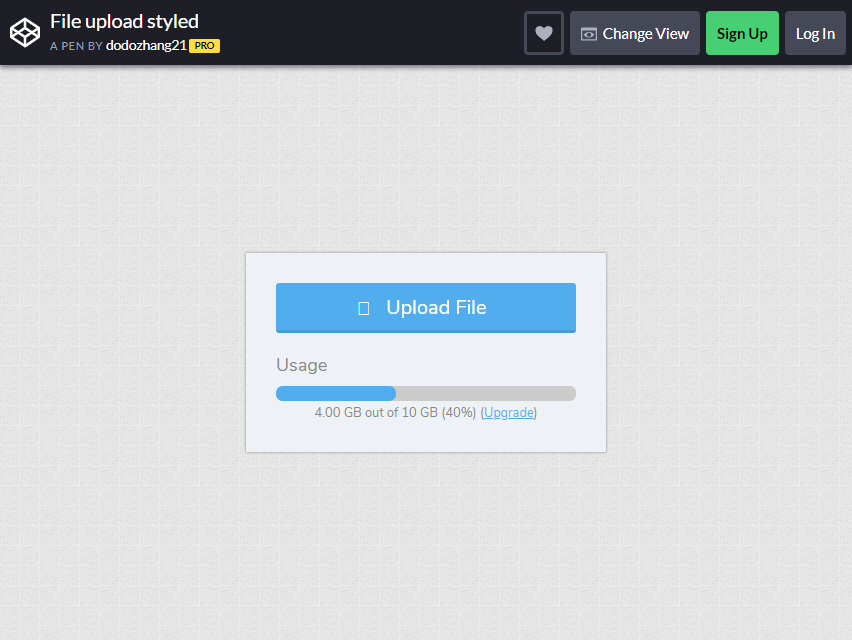
You can let the user upload up to 10GB of a file in the page in this file upload format. There is a blue button to click on to upload the file.
At the bottom, you can see the usage indication, whether you used up 4GB of the 10GB limit on a file to upload.
If the user wants to upgrade the MAXIMUM size of the data uploaded to the page, he may click the ‘Upgrade’ button next to the Usage indication.
The box is clear and simple, without too many designs that makes it understandable for the audience to read and navigate.
File Upload with Sorting
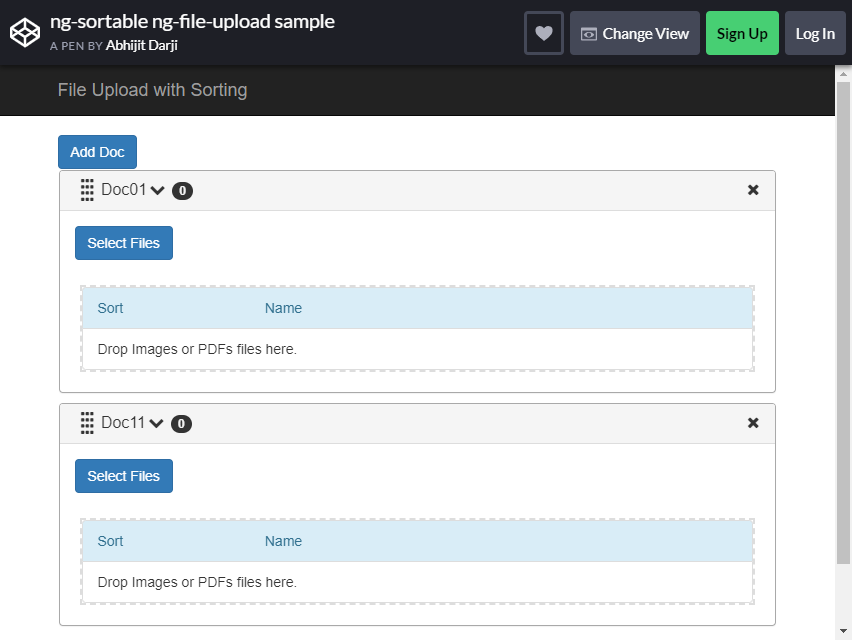
This is one of the best options for a more advanced file upload format. You can sort the file you’ve uploaded from your storage in this form. Click the ‘Select File’ button to transfer the data.
As soon as you click the document, you can view information such as its Name, Size (in MB), Type, and the date it was last modified.
If you click on a different file, you can simply click the delete button at the end of the row for the uploaded file. You can have multiple selections with this format.
File Upload IU

Drag the file or other documents inside the dashed line. Files can be PDFs too. You can drag and drop the files or browse it directly from your storage like other formats.
Once you have finished uploading it, the data will appear at the bottom of the dashed line box. You can see that it’s 100% done. If you are mistaken about choosing a file, you have the option to delete it.
At the bottom, next to the progress box, you can click ‘Go Back’ if you change your mind about uploading the file or click the ‘Upload’ button to continue.
The format is accessible and can enhance the beauty of your blog. It’s also easy to set up!
Angular File Upload Directive
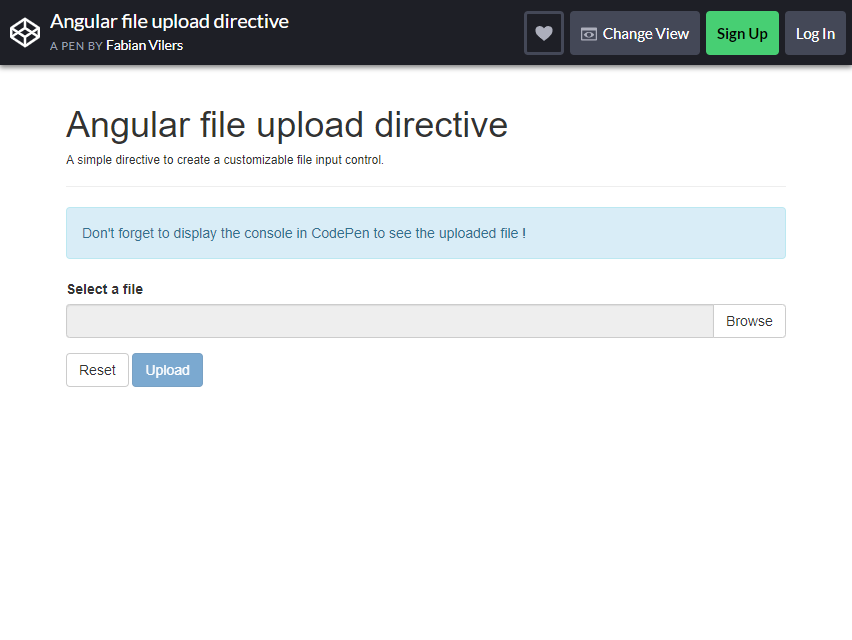
Selecting a file and uploading it to your page has never been this easy. The user can pick from their storage to upload to the web page.
There is a ‘Reset’ button at the bottom and an ‘Upload’ button next to it. This is just a simple directive for your file input control. There are no additional buttons or navigation options; simply upload the file.
There are only three buttons to be exact. This can be the right choice if you want a more straightforward format. Sometimes, simpler is better.
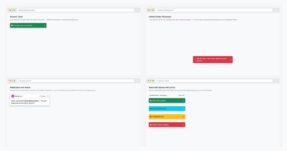
Simple File Uploader
This format is appealing because it has icons inside the dashed line. The icons indicate a picture, document, or PDF. These types of files are readable and can be uploaded to the website.
It helps the audience or user to learn which file is applicable. Aside from that, the picture engages more with the audience, even to those who don’t know how to read. The text format also gives charm to the format.
This may be a basic format that’s uncomplicated to use. Drag or drop your file, or browse from the File Explorer, to upload it.
Which do you prefer, the plain or the complicated one?
Plain File Upload Format
This format has only one button to click on. Inside the box, you can also drag the document needed. This is ideal for websites that only require a simple file.
As you can see, the background color is black, which makes it more available to any kind or theme of a website.
The box size is just right and doesn’t consume much space on your page.
When it comes to single-file uploads, aim for simplicity. This way, the user can upload EASILY and QUICKLY.
To-do List Format
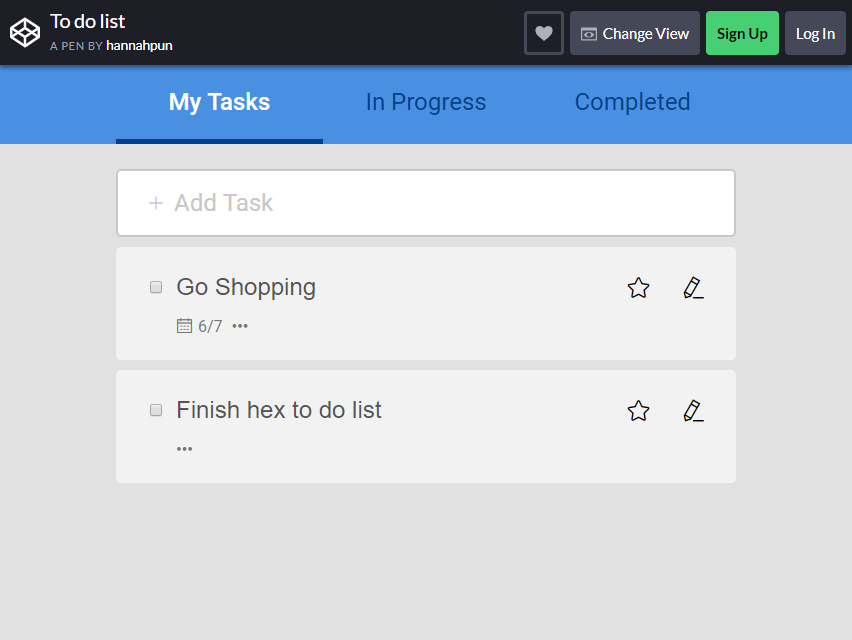
This format is ideal for listing all the activities or tasks you need to finish. It is divided into three sections: My Tasks, In Progress, and Completed. In the My Task section, add a task you need to perform.
You can list everything (e.g., going shopping, finishing household chores, finishing an assignment, etc.) that needs to be done daily. You can also edit it as much as you like.
You can also type the deadline of your activity and upload a file if you wish to do so. Lastly, you can also comment on the task you’ve written.
In the ‘Progress’ session, you will record the activity you are currently working on, while in the ‘Completed’ section, you will list all the finished tasks.
Custom Animated Input File

Are you looking for a simple photo upload format? Pictures are only allowed in this file upload. The accepted formats are JPG, JPEG, BMP, and PNG.
You can see the ‘Browse for your pic!’ button. Just click it, and file storage will come out. Remember to click only the accepted format unless it is invalid.
This is ideal for blogs that only require a picture. It has a single purpose, but it’s the right one.
React Profile Card with Image Upload
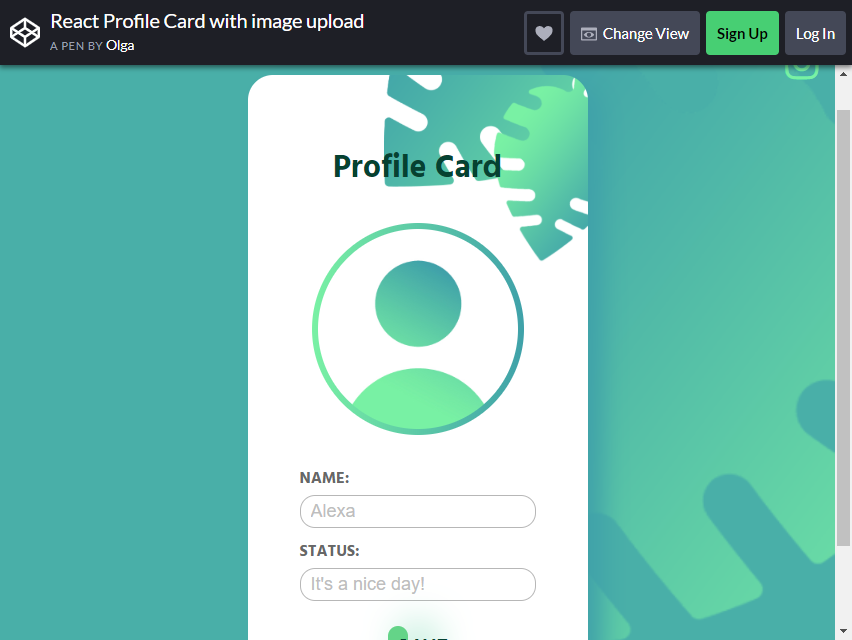
The profile card can be an asset to your blog or website. A user can upload his photo by clicking the circle in the middle. The name and Status are included in the format.
Simply type the day’s name and status, click the ‘Save’ button, and it will be displayed in your preferred format. The color and style are attractive. It is just perfect for any website themes or styles.
Related Posts


Some of these dont work ? eg. “File Upload Box”. When i drag and drop and drop into the box the image is just taken over by the browser? Im using the latest Firefox on Windows7. Any advice?