How to Create a Dental Clinic Website Using WordPress – A Detailed Guide
Running your dental clinic is a huge deal if you are not looking for a way to automate the major part of the internal processes. Booking appointments and providing customers with general information regarding the procedures and overall clinic reputation is one of the things that receptionists do. They are like walking and talking advertising banners that can also help customers book a visit to a doctor and get all their problems solved.
But let me ask you a question… Why do you need to drop this load of responsibilities on someone if your website may take care of the major part of these things? Does it sound interesting to you? Today, we will walk you through creating a dental clinic website. It will be a step-by-step guide and you will find it useful for your business, you can take our word on it! You can just take a WordPress theme, tune in some plugins and get a fully functional website up and running.
Looking for a dentist WordPress theme
WordPress is one of those CMS with plenty of themes to choose from. Scrolling around the most famous marketplaces feels like standing in the middle of a candy store: it’s so hard to choose! Whatever needs you have – you will find a theme that will meet most of your requirements.
Since we wanted this guide to be complete, we will tell you where you can find good themes and how to choose the one that will work for your dental clinic best.

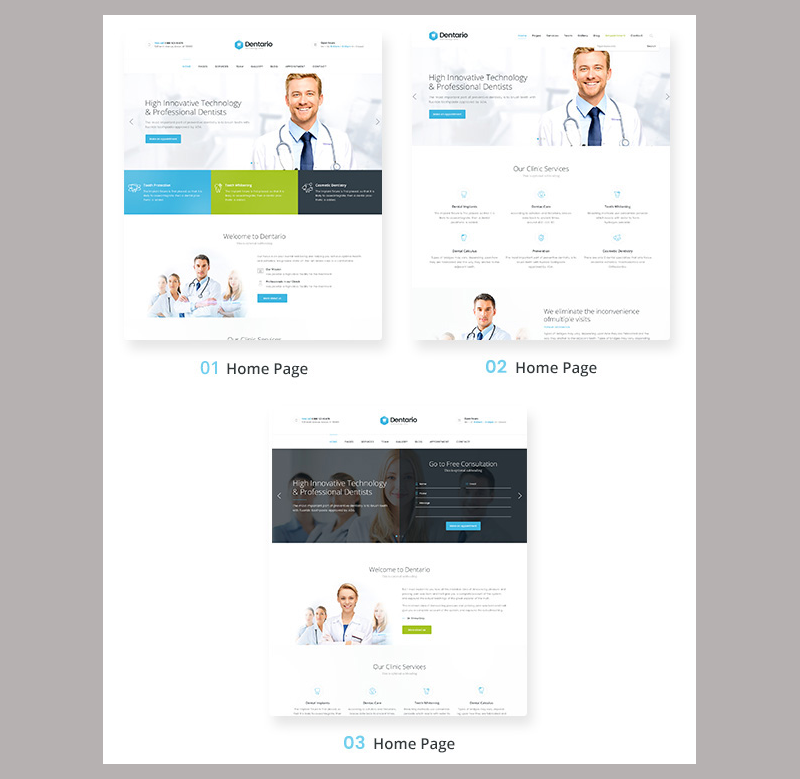
You should first check out while looking for a good and qualitative template is Themeforest. The ‘Health and Beauty’ section will give you a big selection of WordPress themes. One is the ‘Dentario | Dentist, Medical & Healthcare Theme’. It has all the needed plugins included and also brings you three homepage layouts to choose from. Along with the support and detailed documentation, it’s a great theme to go with, so I’m going to take this one and see what we can build with it.
Looking for more themes? Here are all the best WordPress themes for dentists.
How to install your WordPress theme
Once you have purchased and downloaded the archive with a template, you should unzip it and you’ll see all the components that will help you to work with this theme, the template itself and a child theme.

Let’s go to our WordPress dashboard and install our theme. To do that we need to go to the ‘Appearance’ section and click on ‘Themes’.

You will be directed to the page with all the installed themes, but we are not interested in those, we want to install our own! Click on the ‘Add New’.

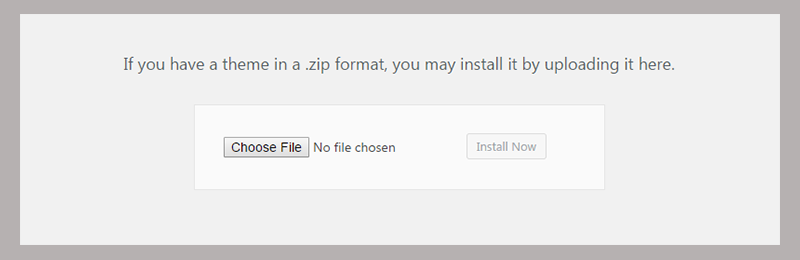
Now click on the ‘Upload Theme’ and choose the ‘Dentario’ zip archive.
After the installation WordPress will tell you what kind of plugins should be installed for this theme. This is a very important thing to do since it will help you to ensure that all the template functionality works as needed. Basically, you will be provided with a full list of the plugins you need, you will just have to select them all and click on the ‘Install’ option.
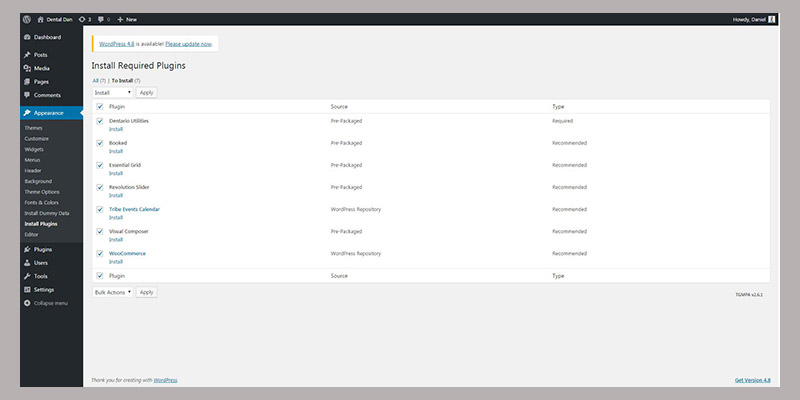
Once they are installed, you will have to perform the same steps to activate them.
Demo data installation
Let’s make our website look like the actual demo and install the needed data for it. This theme has a one click dummy data import tool included, so the demo installation process will not be a hassle.
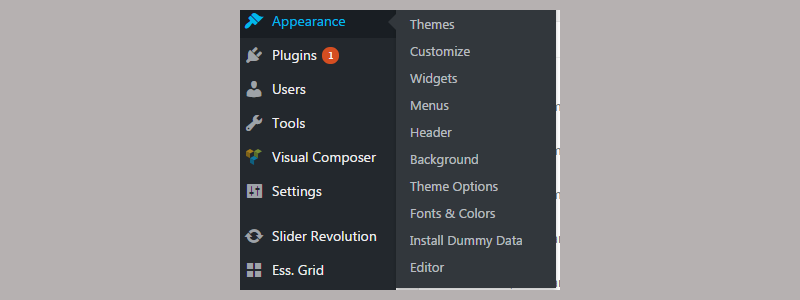
In order to access the Dummy Data Installer, you should go to the ‘Appearance’ section of your Dashboard and click on the ‘Install Dummy Data’.
You will be redirected to the Importer page where you should select all the components that should be imported. The last three items are not selected by default, but you should check them too, just like on the picture below.
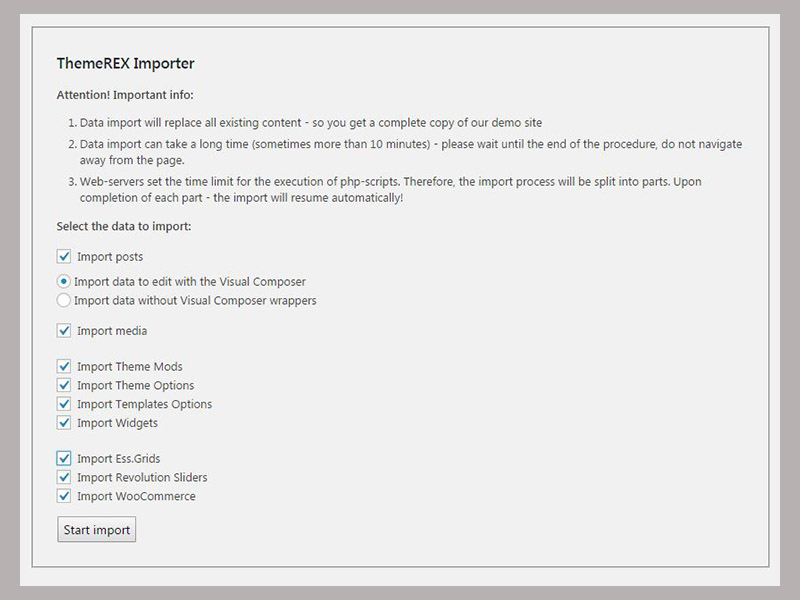
The importer will do its job and you can just have a cup of tea while it works… Actually, you cannot, it works pretty fast, so you will not even have a chance to find your cup in the kitchen.
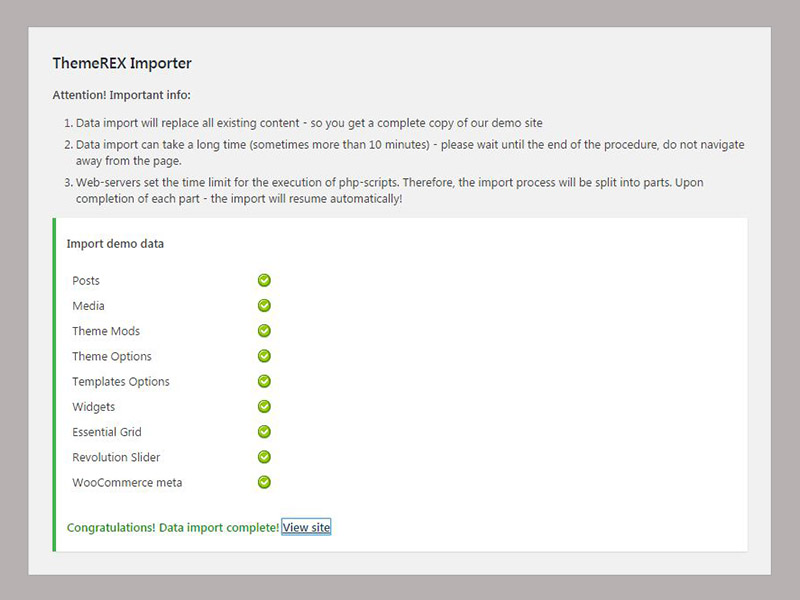
Once everything is installed, you will see the message on the bottom and a link to your website.
As I have already mentioned before, this theme has 3 homepage layouts and I decided to go with the third one.
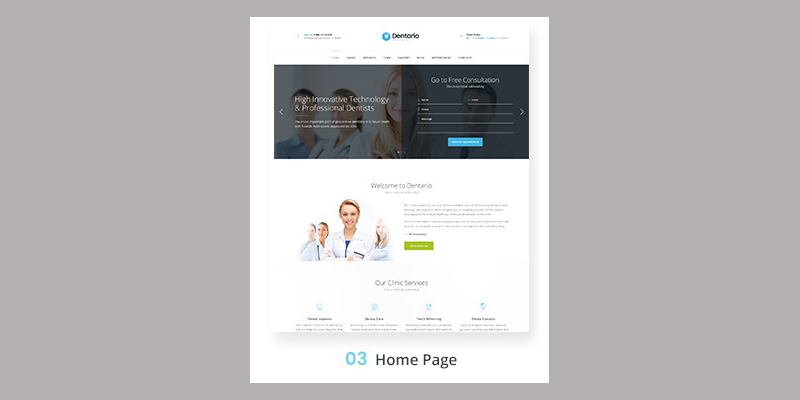
The reason is very simple, I like the fact that the ‘Get free consultation’ form goes right near the slider, so that’s the component that I’m not gonna change. In general, I will show you how to make changes to the existing layout and you’ll see how you can build a dental clinic website using the WordPress theme, it’s really easy!
How to customize this theme
The customization process includes lots of actions that you may need to perform in order to tune everything in as you like. First of all, we’ll need to start with the header elements and change them according to our plan.
Let’s set the third homepage layout as a default homepage and then we will start to work with it.
Click on the ‘Customize‘ button on the top admin menu on your homepage.

The menu will appear on the left side of your page, you will have to click on the ‘Static Front Page’ button.

Now select the ‘Home 3’ in the ‘Front page’ option and click on the ‘Save & Publish’ button on the top to save the changes.

Go back to the WordPress dashboard and click on the ‘Appearance’ -> ‘Theme Options’, that’s where you can apply minor changes to the template appearance. That’s just the beginning, let’s do it!
The logo is always the first thing to change in a brand new theme, right? That’s why we are going to rip that band-aid off right away.
Click on the ‘Header’ section and scroll down, you will see the area where you can change the logo.
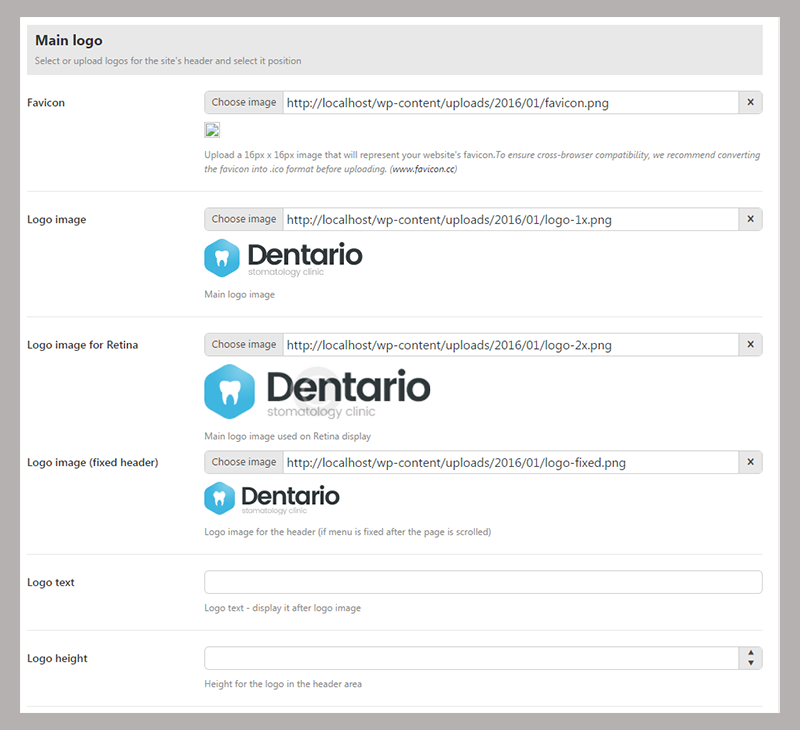
Upload your logo and save the changes, everything is simple as a pie. My clinic will be called ‘Dental Dan’, so my logo will include these words, don’t be surprised.
Now my header looks like this:

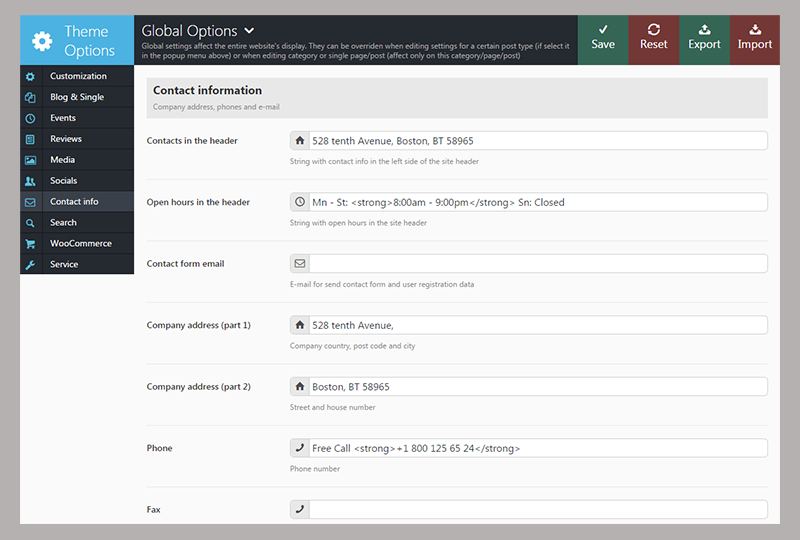
Let’s see how we can change the number and hours of operation. In general, I like how they are positioned in this template, but we need to know how to change the actual text in these blocks.
Go to the ‘Contact info’ section and make all the necessary changes according to your clinic’s info.
That’s better, now our header looks right! We added the new logo and the new contact info and now, we can move forward.

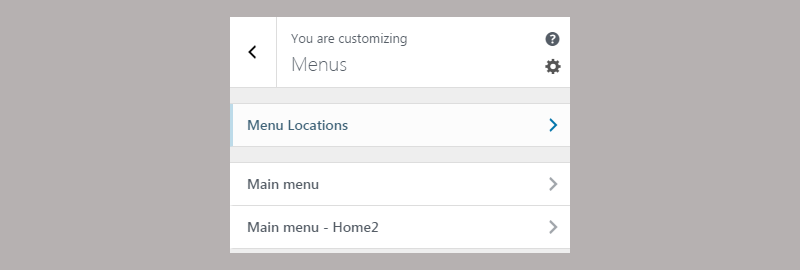
Our next step will be changing the menu items. In order to do that, just click on the ‘Customize’ button on the top menu and go to ‘Menus’ -> ‘Main Menu’.
Remove all the items you don’t need, then we’ll move to adding the new elements.
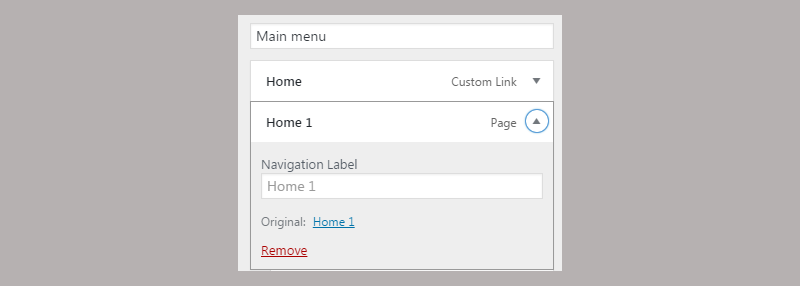
Basically, this theme includes all the menu items we need. You just have to remove the rest of the items and leave only these.

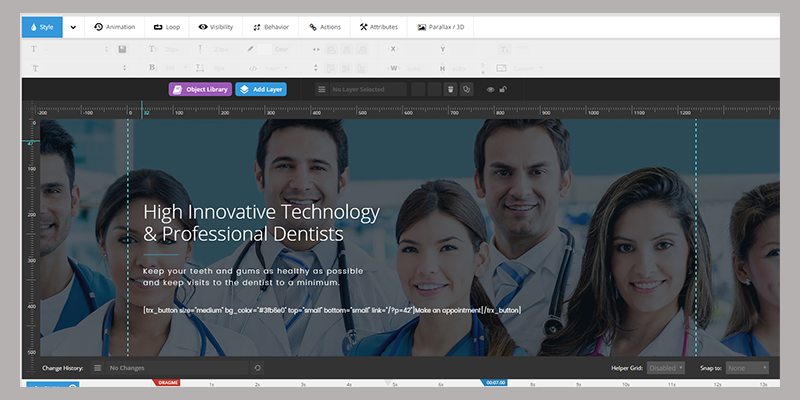
Now I’ll show you how to change the pictures in the slideshow. There is the admin menu on the top of your homepage. Yeah, the one where the ‘Customize’ is located. There is a ‘Slider Revolution’ button there, hover over it and click on the ‘Dentario Home 3’ menu item.

You will be directed to the following page.
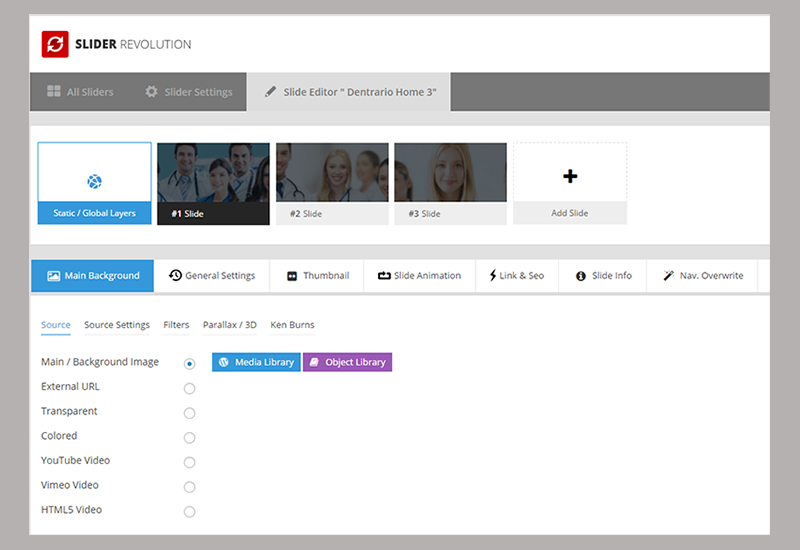
Select any slide and click on the ‘Source settings’ to upload a new picture or edit the existing one. If you scroll a little bit lower, you will see the area where you can edit the styling. I’m not going to change anything, cause I believe this theme has a great set of slides for the dental clinic, but the editing process is easy and the editor itself is visual as you may see. So there will not be a problem for anyone to work with it.
Now we will edit the most important thing: the actual layout and the number of blocks displayed on the homepage. A few of them I don’t need, so I will remove them completely, these are:


These are the blocks that I will remove completely. In order to move the blocks around, remove and edit them we will need to use the Visual Composer. That’s the page builder that comes with the Dentario theme. In order to start editing the layout of your homepage, go to your website and click on the ‘Edit with the visual composer’ button in the top menu.

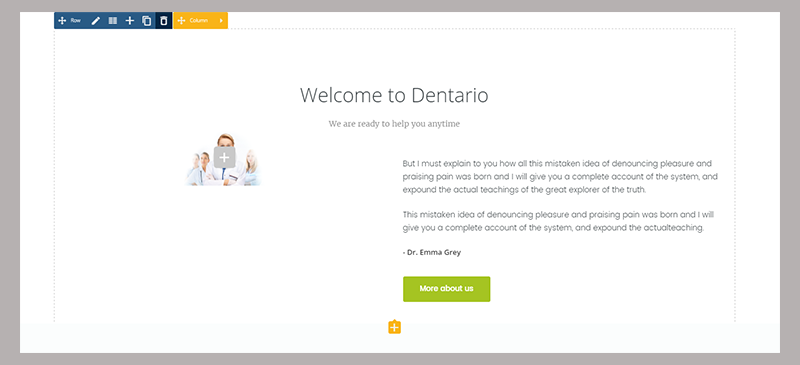
Now whenever you hover over any block on the page, you will see the control button to edit, remove and add rows, columns, and modules.
You can create rows and divide them into columns. Each row or column can include the modules, they are the actual content (pictures, counters, button, texts).
In order to remove the first block that I won’t need, I will click on the trash can icon in the ‘Row’ menu. This action will kill the entire row and it will disappear, just what I needed!
Now the first block that our customers will see under the slideshow will be the ‘Services’ block with the list of our dental services that we offer.
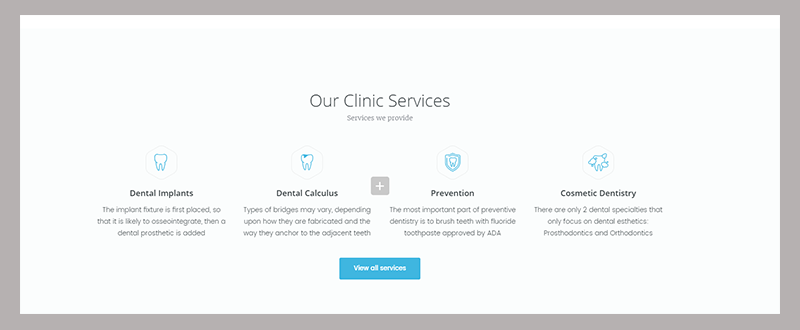
If you decide to edit the services, you can do so in the ‘Services’ section of your WordPress dashboard. The editing process is the same as with the posts.

I removed all the blocks that I didn’t need. Now, we need to click on the ‘Update’ button to save all the changes.

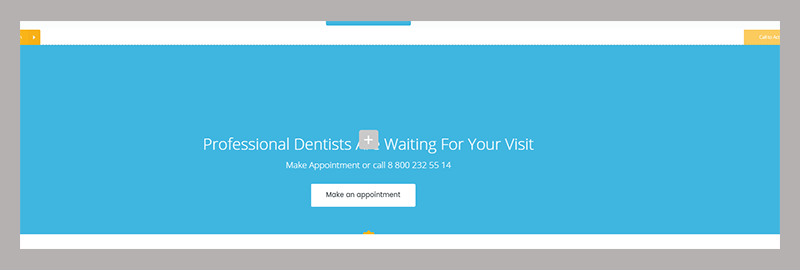
Now let’s edit the ‘Call to action’ area since we need to put our phone number there. Click on the ‘Captions’ section and change the description and title. So after I changed the text and number it looks like this.
The next block is featuring our team. I will show you how to change every picture and text.
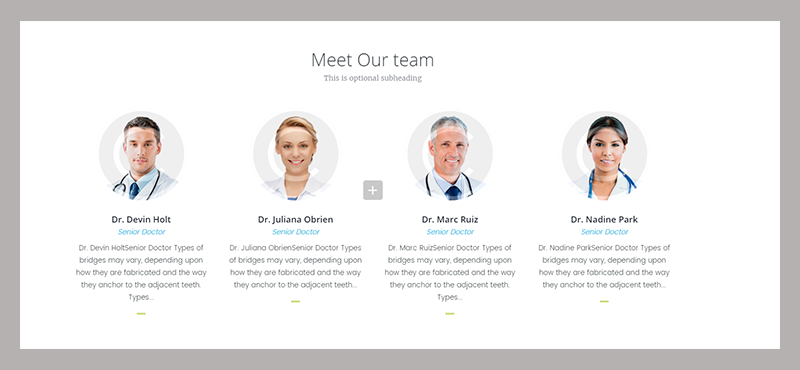
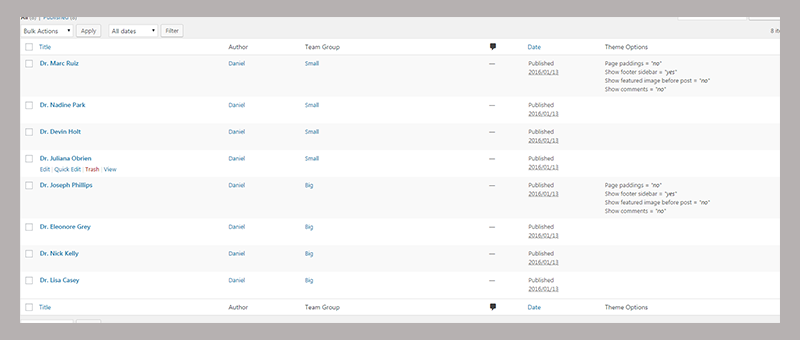
Go to the WordPress dashboard and click on the ‘Team’ section -> ‘All Team’. You will be directed to the page with the full list of doctors. We’ll need to edit all the ones from the ‘small’ category since these are the ones displayed on the homepage.
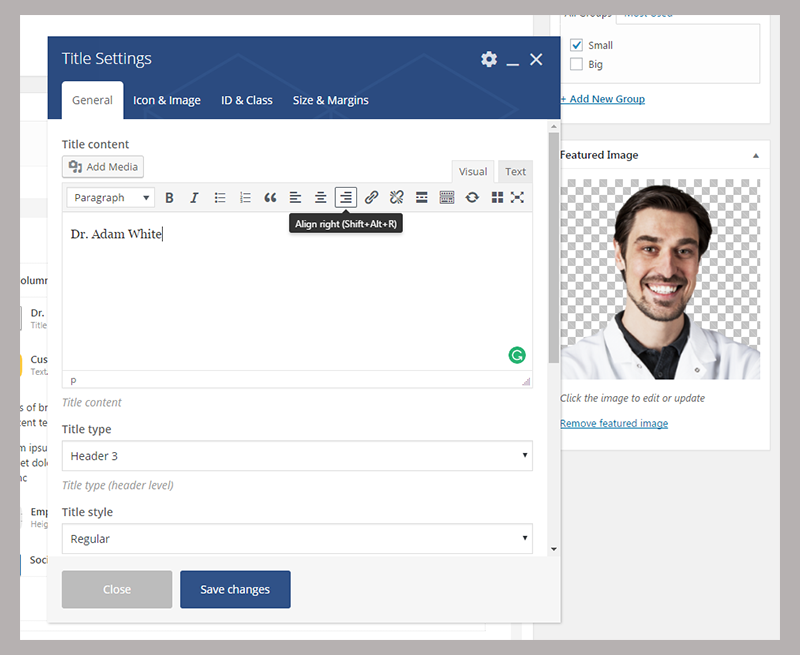
Pick Dr. Devin Holt and click on the ‘Edit’ button under his name. The editing process is the same as with the blog post. Just upload the image (photo of the doctor) and fill in the name and the small ‘about this doctor’ text.
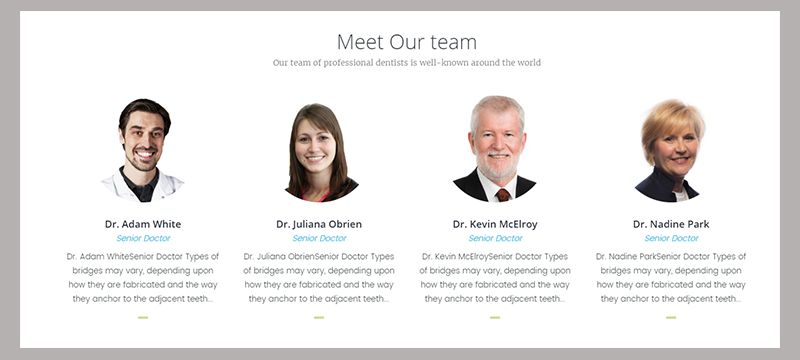
You’ll get something like this once you perform these actions for all the guys from the ‘Team’ sections.
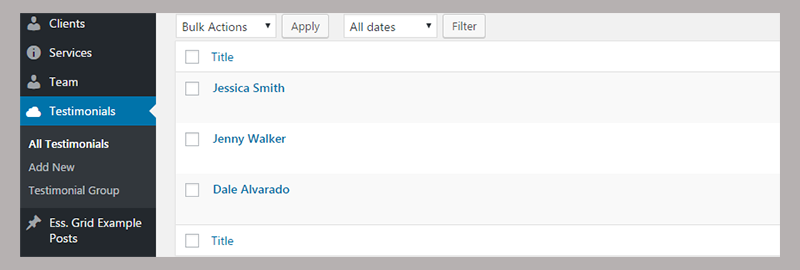
You can also change the testimonials from the next row in your WordPress dashboard. You should go to the ‘Testimonials’ -> ‘All Testimonials’ and you will be able to edit, add and remove those.
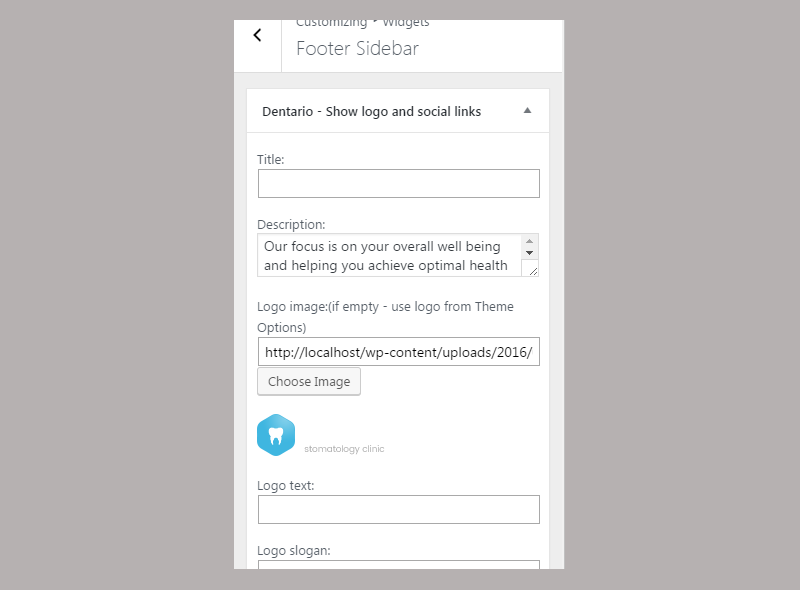
Now let’s change the footer components. We need to change the logo and write a new text there, that’s the easiest part out there, seriously.
To do that, go to the ‘Customize’ menu and click on the ‘Widgets’ menu item.

Then select the ‘Footer sidebar’.

Here is where you can change the logo and description text:
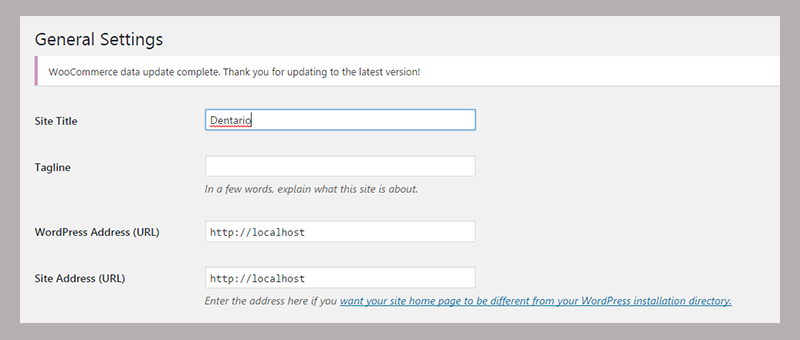
Once you have finished with the footer, there is only one thing to correct. We need to change the website name, so the DentalDan clinic name would display in the tab.
Click on the ‘Settings’ -> ‘General’.

Change the ‘Site Title’ and the ‘Tagline’.

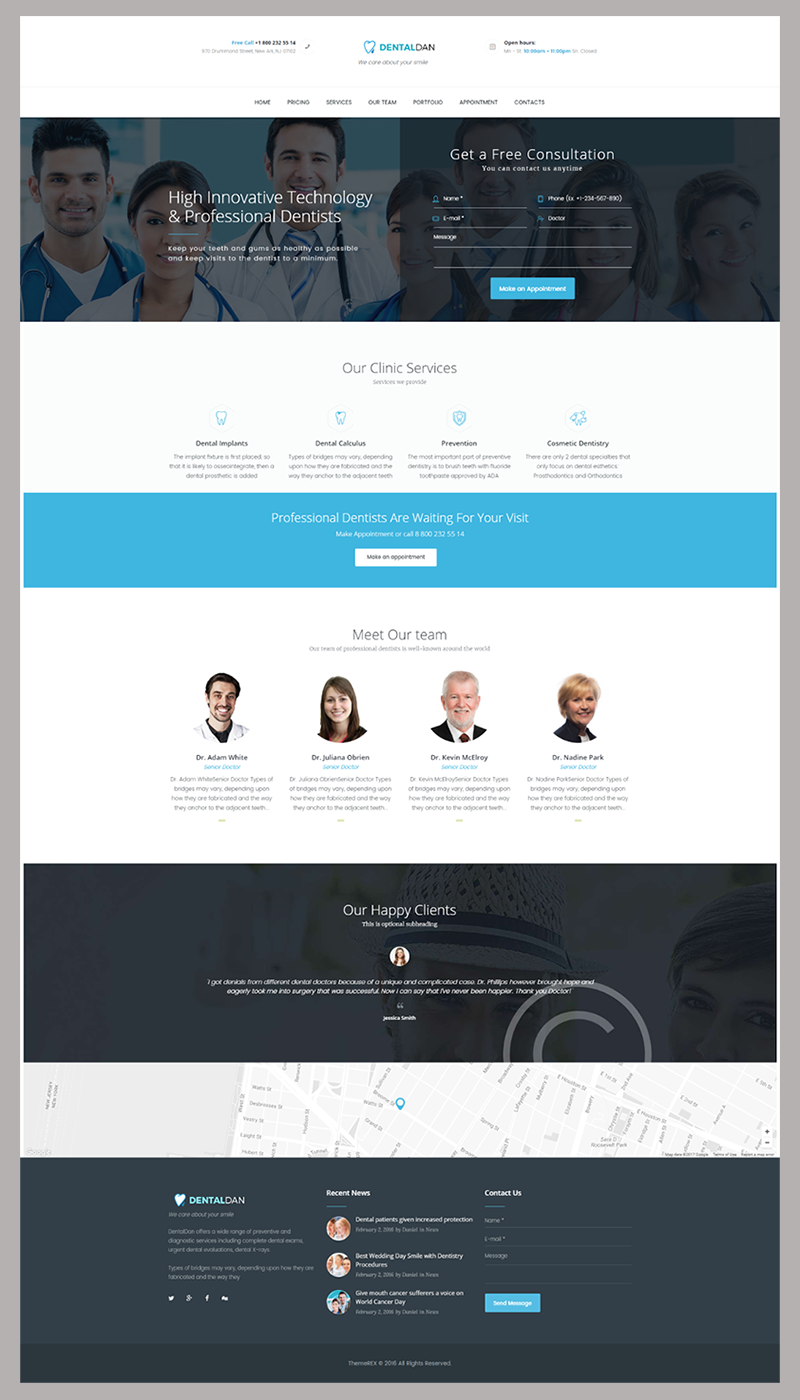
Now we can take a look and see how our dental clinic website looks.
Wrapping things up
Every self-respecting dental clinic should have its website. I’m not just talking about a fancy landing page without functionality. It should solve such problems as booking an appointment, checking available doctors, and looking through the portfolio of dental works. The creators included all these features on ‘Dentario.’ As you can see, you only need to move around a few blocks. Also, you need to edit some info and your website is ready to go. Yeah, just like that!
Related Posts


Comments (0)