The Ultimate Guide to WordPress Child Themes
Have you ever found a close-to-perfect WordPress theme for your website but decided not to go with it because of a tiny, nerve-wracking design element you couldn’t overlook? It’s font style, color palette, or the placement of design elements, perhaps?
The WordPress theme market is saturated with so many great themes, both free and premium, but short of hiring a developer to create a tailored theme for your site, there’s little chance you’ll find one that’s perfect down to the last pixel.
WordPress child themes enable webmasters to modify a theme’s files while keeping its core functionality in place without risking losing the modifications each time the theme is updated. They give you the power to modify a theme’s appearance from something as small as a button’s call to action to completely changing every design element.
This article will cover everything you need to know about child themes, from what they are to why they’re so important. We’ll wrap up with a tutorial on using child themes on your WordPress site – the right way.
Sound good? Let’s get started!
WordPress Child Themes: The Basics
Child themes are separate themes that actively inherit functionality from their parent themes. A child theme’s functionality overrides the parent theme’s meaning the child theme’s functionality will be applied to your website. Once you activate a child theme, WordPress will check to see if it has some particular functionality. However, if the functionality doesn’t exist, it’ll look into the parent’s files and go with the one coded there.
In simple English, child themes are duplicate theme files and every time you feel the need to modify design aspects or some functionality, you edit it into the child theme’s files. This is a great feature because it enables webmasters to make changes to the theme without the lingering fear of messing up the original files.
Most WordPress themes nowadays come with child themes (or variations of their child themes) right out of the box.
Why Should You Use Child Themes?
Making modifications and alterations to your theme through child themes is a widely accepted (and recommended) best practice. Think about it this way: if you mess up the first time you can always try again. Aside from this prominent benefit, child themes are important to your WordPress site’s maintenance and development.
Eliminate the Risk of Losing Modifications
Making changes to your parent theme (the original theme files) means that the changes will be lost when you update the theme. This leaves you in a dead-end state of sorts; if you update the theme you lose all of the modifications but if you don’t update the theme you’ll have bugs residing on your site that could be affecting it negatively.
You can copy-paste the code associated with the modifications into your parent theme once it’s done updating. Although that’s entirely possible, why spend time locating the modifications you made and copy-paste them into the updated theme files every time you update your theme? It’s an easy yet fallible process.
This is where the importance of child themes is first realized. Using child themes, you can retain all the modifications and safely update your site’s theme.
Maintain Code Organization
A WordPress theme is typically made up of a few thousands of lines of code and several different files – HTML, CSS, PHP, JavaScript, and more. And because of this, any slight changes made here and there become hard to track. When the time comes to go back and edit the theme or fix unanticipated bugs, it’ll prove to be quite costly (both time and budget-wise).

As discussed above, child themes are actively inherited from parent themes. Any changes you make to the child theme remain there (what happens in child themes stays in child themes!) and are easier to track because it’ll only have a few hundred lines of code (in the most aggressive circumstances) as opposed to a few thousand.
As you can most likely tell by now, there are no disadvantages to using child themes. In all actuality, they safeguard your site from accidental bugs.
How to Create a Child Theme in WordPress
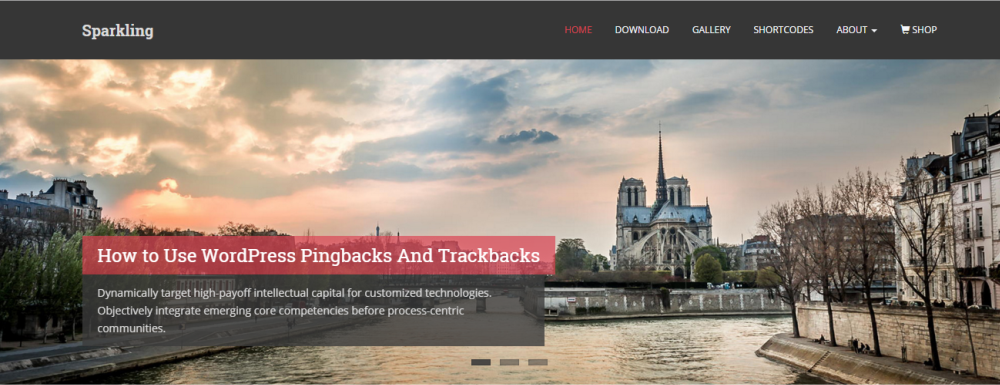
Most themes come with child themes, but if you find one to your liking that doesn’t, creating a child theme by yourself isn’t difficult. I’ll demonstrate the tutorial by creating a child theme for our Sparkling theme.
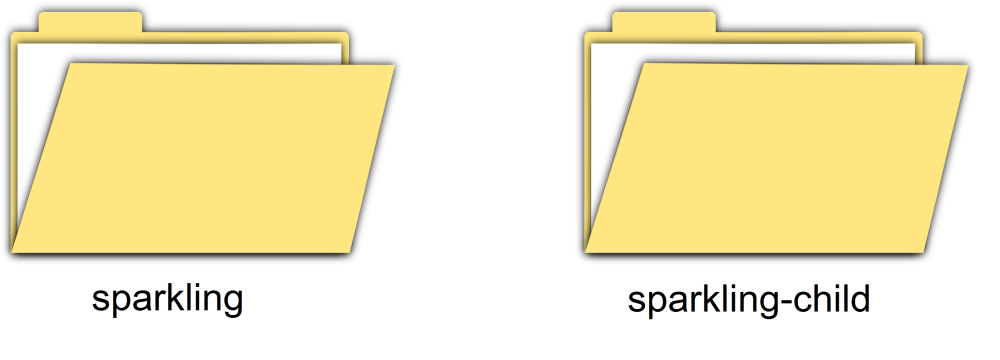
Step 1: Create a directory for the child theme in your WordPress install.
- Navigate to your WordPress site’s theme directory (
/wp-content/themes). - Create a new folder and name it sparkling-child. It’s a best practice to give your child theme the same name as the parent with -child appended at the end.
We’ll add all of the child theme’s files to this folder. That said, the only file a child theme requires to function properly is the style.css file.
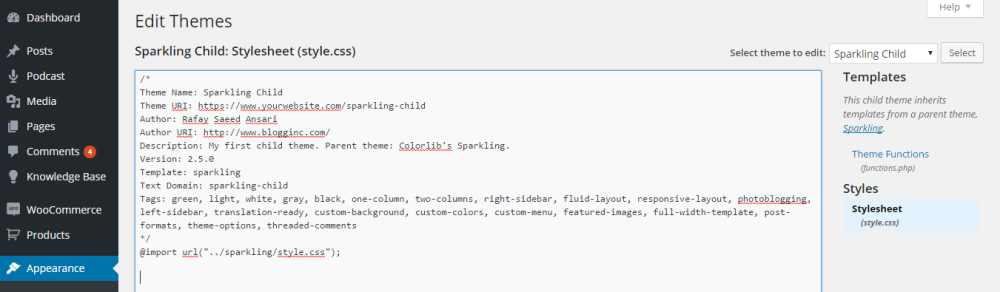
Step 2: Create a style.css file for your new child theme.
- Navigate to the child theme’s directory created in Step 1 i.e.
/wp-content/themes/sparkling-child. - Create a new
.cssfile in the directory and name itstyle.css. - Copy and paste the following code into the new
style.cssfile:
In the code given above, the most important lines are the ones starting with Theme Name, Template, and @import. You must fill these lines out correctly if you’re creating a child theme for another parent theme. The @import line ensures you don’t have to rewrite the parent theme’s CSS rules from scratch. Without the @import line, the new site will only have the content loaded onto it, no styling.
If your parent theme has multiple style sheets then skip this step. We’ll show you how to import multiple style sheets using a native WordPress function in the following steps.
Step 3: Create the functions.php file (optional).
The functions.php file enables web developers to add functionality to their WordPress websites by using native WordPress functions and PHP code.
- Navigate to your child theme’s folder i.e. sparkling-child.
- Create a
.phpfile and name itfunctions.php. - Add the following code to the functions.php file:
It’s important to note that a child theme does not require a functions.php file to operate. In fact, you should only add this file if you intend on modifying the parent theme’s functionality. In most cases, a style sheet is enough but if your parent theme has multiple style sheets then you will have to create a functions.php file.
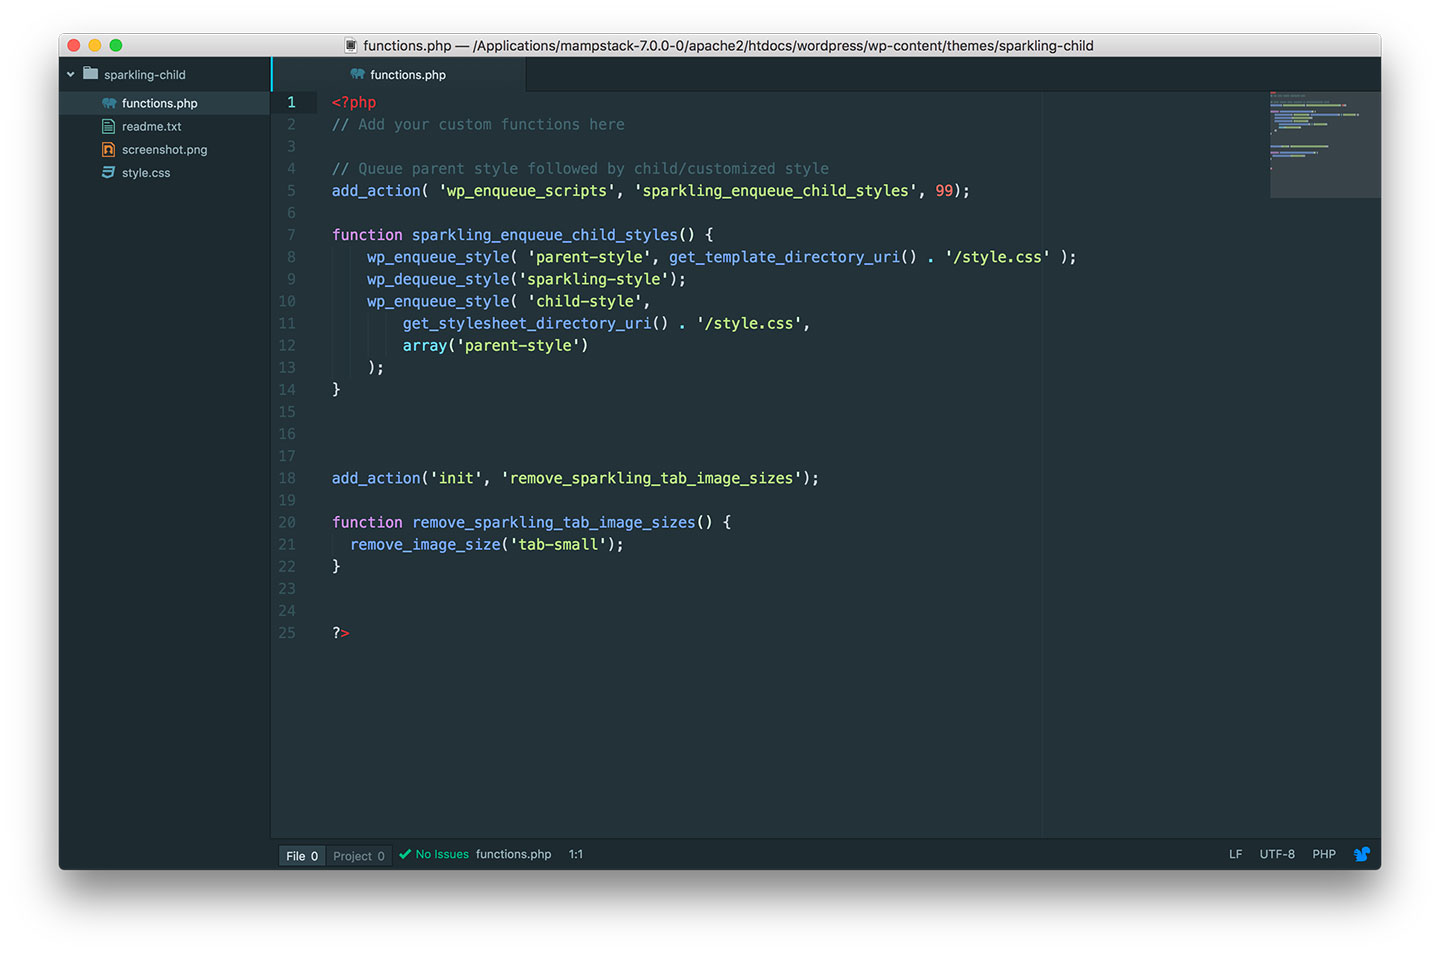
Step 4: Import multiple style sheets (optional).
If, for instance, the parent theme you’ve selected comes with more than one style sheet, importing them to your child theme @import will slow down your website by a couple of seconds – which isn’t good. You don’t want to increase your site’s page load time if it can be avoided with a few lines of code.
- Navigate to your child theme’s directory and open the
functions.phpfile in a text editor. - Add the following lines of code to the
functions.phpfile under the opening<?phptag:
The wp_enqueue_style() function used in the code above will import multiple style sheets to your child theme without slowing your site down.
Note: Best practices for creating child themes suggest that you should always import them using the code given above, regardless of how many style sheets your parent theme has.
Step 5: Upload the child theme.
Now that you’ve successfully created the child theme, it’s time to upload it to your WordPress website and activate it.
- Compress the child theme directory into a
.zipfile. - Login to your WordPress admin panel and navigate to Appearance > Themes.
- Click the Add New button on the following screen.


.zip file and upload it.You can also upload the child theme via your FTP client by directly copy pasting the .zip file into the themes directory. If you’re creating a child theme for another theme, then make the necessary alterations to the code given above.
This tutorial is only meant to demonstrate how a child theme is created. We’ve created a child theme for Sparkling which you can download directly if you’d rather not spend time creating your own.
Customizing Your Child Theme
Assuming everything went as planned, when you activate the child theme your website should look the same as when the parent theme is activated. But hang on! Isn’t the whole point of creating a child theme to make your website look different?
In this section, we’ll show you how you can start customizing the child theme to make modifications.
Applying Custom Styles
Since the first file (and the mandatory file) we created was ,style.css it only makes sense to start out by adding custom styles to the child theme using it. By adding custom CSS code to the style sheet, you’ll be able to override the parent theme’s style sheet.
With CSS, you can modify every design and styling aspect of the activated theme from colors and buttons to dimensions and font styles. Web developers with a real knack for CSS modify the whole layout of the child theme to make it one of a kind.
All you have to do is add custom CSS code to the bottom of your child theme’s style.css file and you’re good to go. Those of you who don’t want to access their site’s FTP client each time a simple change needs to be made can navigate to WordPress’ default editor (Appearance > Editor) and add CSS code directly from there. Navigate to Appearance > Editor and add CSS code directly from there.
All you have to do is add custom CSS code to the bottom of your child theme’s file and you’re good to go.
Alternative Theme Modification Techniques
Adding CSS code to the style.css file is the simplest way to go about making modifications in the child theme. However, if you want to take things to the next level and perhaps add some new, custom functionality to the child theme, then that’s where things get serious. There are different types of modification you can make (aside from changing the design elements) such as:
- Add new functions to the
functions.phpfile. We’ve already created thefunctions.phpfile for your child theme so all you have to do now is add some custom functions to it depending upon the functionality you want to achieve. You can code in PHP or use native WordPress functions. - Edit template files. If
style.cssandfunctions.phpjust doesn’t cut it and you still need to modify the theme, you can copy paste the template files from the parent theme and edit them accordingly. - Add new template files. If you’ve found templates that you like elsewhere (not in the parent theme’s directory) or if you want to create your own templates, you can add them directly to the child theme and go from there.
You can rest assured knowing that your WordPress website will be safe from harmful, unintended bugs regardless of the method(s) you adopt to make modifications to your activated theme. If perchance, something with the code goes wrong, you’ll know exactly where the mistake occurred and be able to correct it. (Hint: it’s usually in the last lines you added!)
One of the best things about child themes is that they enable users to fully customize the parent theme to match their site’s brand which is especially useful for both new and established businesses alike. And if you want to completely re-design your site later on based on the same parent theme or a new parent theme, you can always create a new child theme and go from there!
Wrapping It Up
Child themes are the recommended way to make modifications to a WordPress theme. They save users from making potentially harmful mistakes to their original theme files and risk losing the modifications each time the theme updates.
We covered everything you need to know about child themes in WordPress, discussed why they’re so important and walked you through an in-depth tutorial on how to create your very own child theme from scratch. To help you get started with making modifications, we concluded with a brief section on how you can get going with customizing the child theme.
Do you agree that all design and functionality modifications should be made via child themes? Were you able to create a child theme and activate it successfully on your WordPress site? We’d love to hear about your experience so let us know by commenting below!
Related Posts


Using @import is not recommended anymore. Please read here: https://codex.wordpress.org/Child_Themes#Creating_a_Child_Theme_from_an_Unmodified_Parent_Theme